外观
(1)访问WangEditor官网可查看:https://www.wangeditor.com/v5/toolbar-config.html#getconfig
(2)本次一vue3为例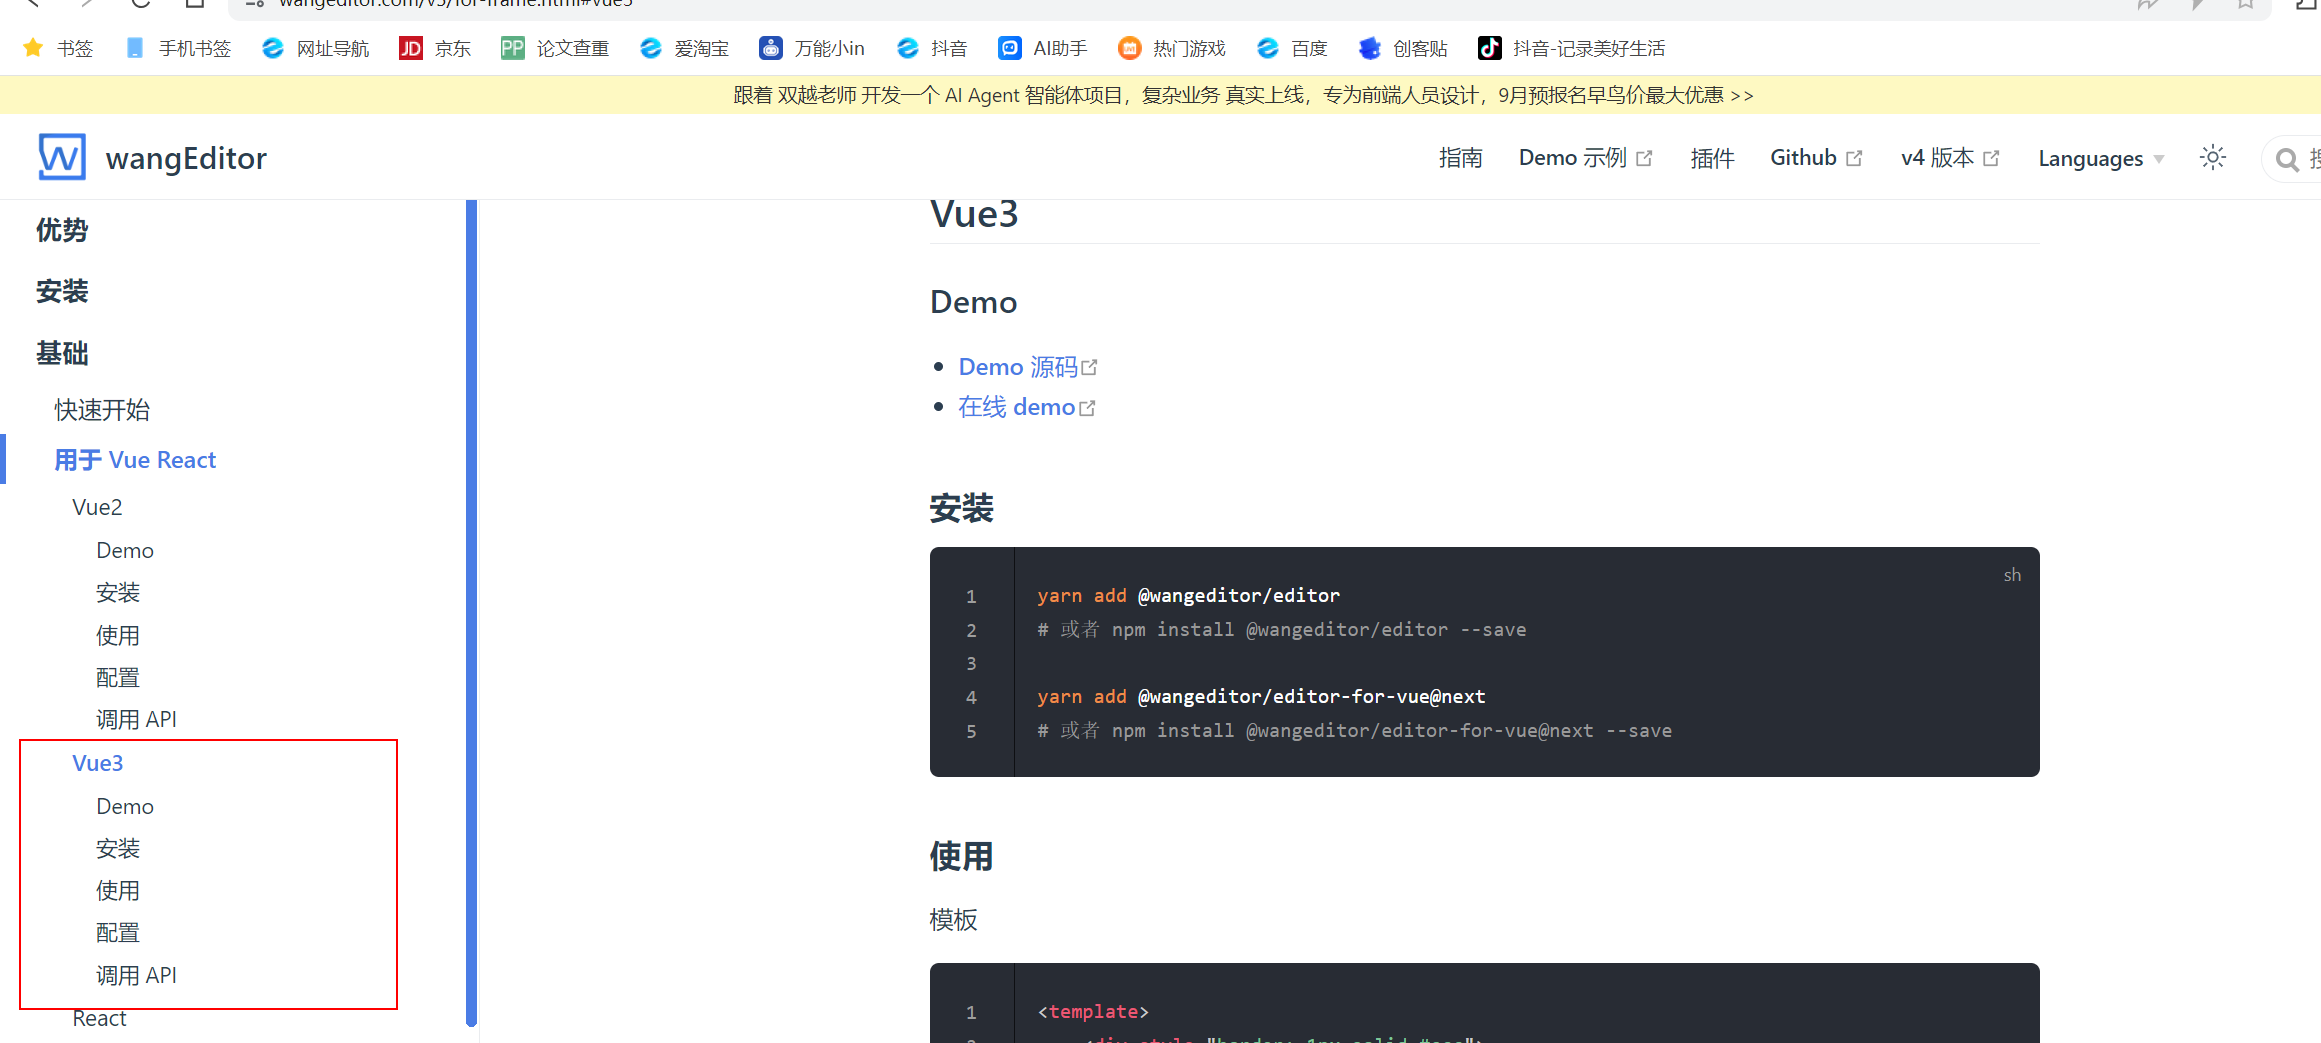
(3)安装
首先切换到view目录下
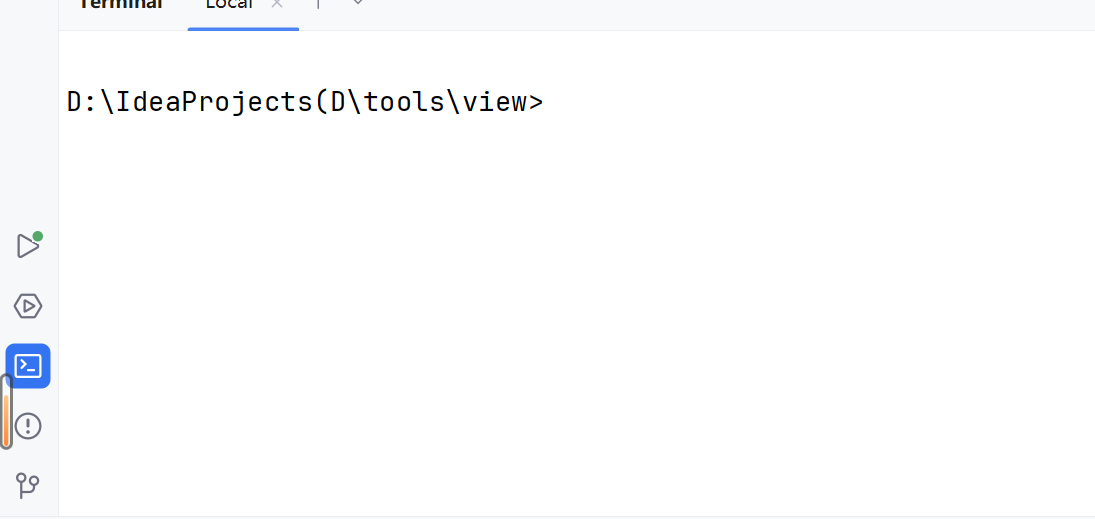
运行下方命令
bash
yarn add `@wangeditor`/editor
# 或者 npm install `@wangeditor`/editor --save
yarn add `@wangeditor`/editor-for-vue`@next`
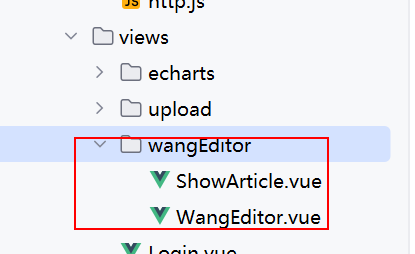
# 或者 npm install `@wangeditor`/editor-for-vue`@next` --save(4)在前端view项目中创建一个名为wangEditor的文件夹,在此文件夹下创建一个名为WangEditor.vue的前段展示页面
(5)复制官网的代码到我们的前端页面
plain
<script setup>
// 引入 css
import '`@wangeditor`/editor/dist/css/style.css'
import {onBeforeUnmount, ref, shallowRef, onMounted, reactive} from 'vue'
import { Editor, Toolbar } from '`@wangeditor`/editor-for-vue'
import {ElMessage} from "element-plus";
import http from "@/utils/http";
// 编辑器实例,必须用 shallowRef
const editorRef = shallowRef()
//定义数据
const data = reactive({
article:{}
})
// 内容 HTML
const valueHtml = ref('')
// 模拟 ajax 异步获取内容
onMounted(() => {
setTimeout(() => {
valueHtml.value = ''
}, 1500)
})
const toolbarConfig = {}
const editorConfig = {
placeholder: '请输入内容...' ,
MENU_CONF: {}
}
// 组件销毁时,也及时销毁编辑器
onBeforeUnmount(() => {
const editor = editorRef.value
if (editor == null) return
editor.destroy()
})
const handleCreated = (editor) => {
editorRef.value = editor // 记录 editor 实例,重要!
}
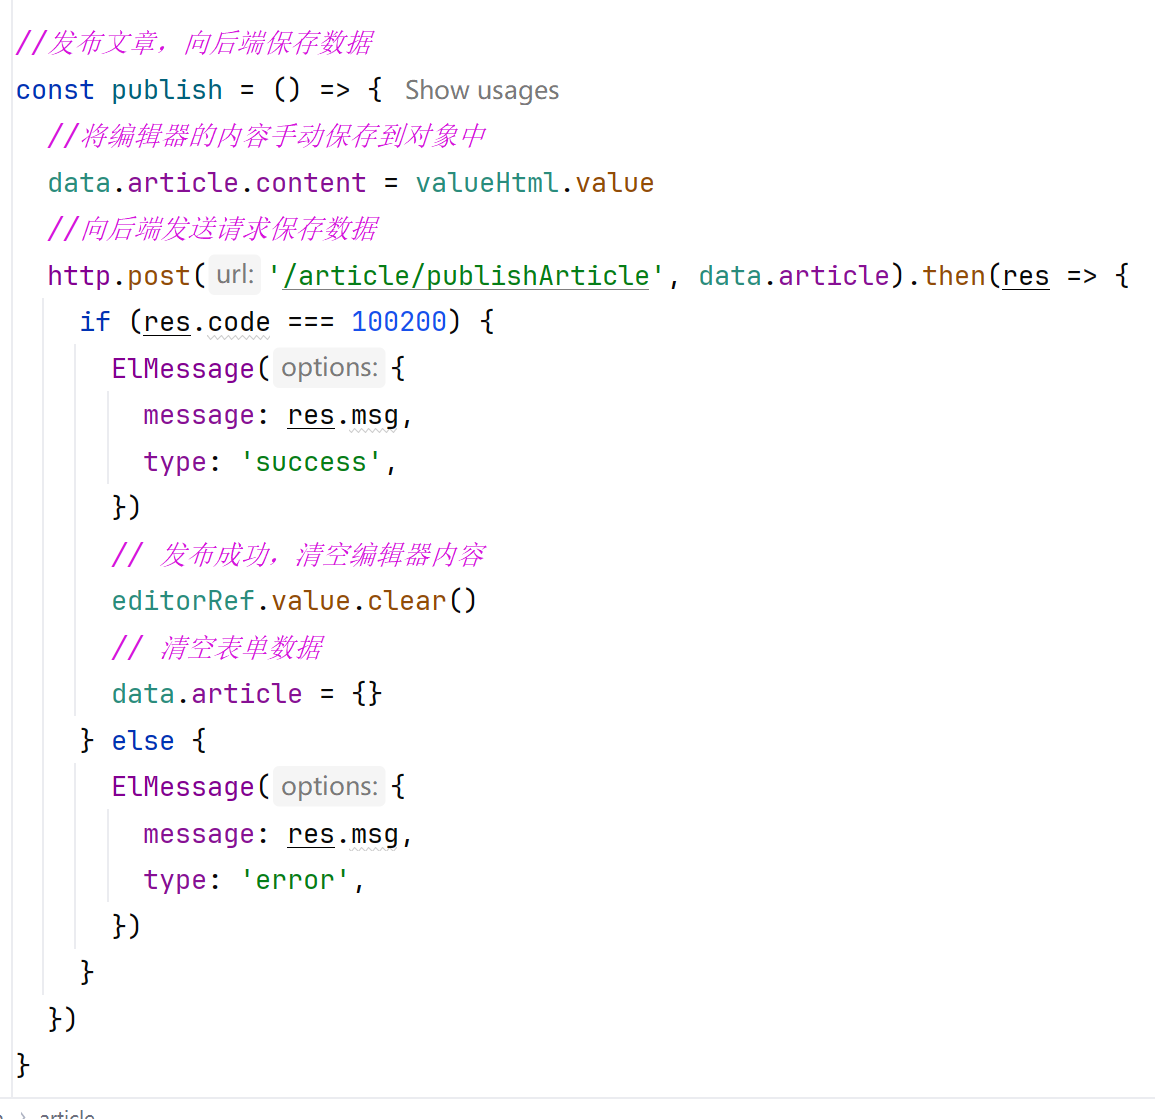
//发布文章,向后端保存数据
const publish = () => {
//将编辑器的内容手动保存到对象中
data.article.content = valueHtml.value
//向后端发送请求保存数据
http.post('/article/publishArticle', data.article).then(res => {
if (res.code === 100200) {
ElMessage({
message: res.msg,
type: 'success',
})
// 发布成功,清空编辑器内容
editorRef.value.clear()
// 清空表单数据
data.article = {}
} else {
ElMessage({
message: res.msg,
type: 'error',
})
}
})
}
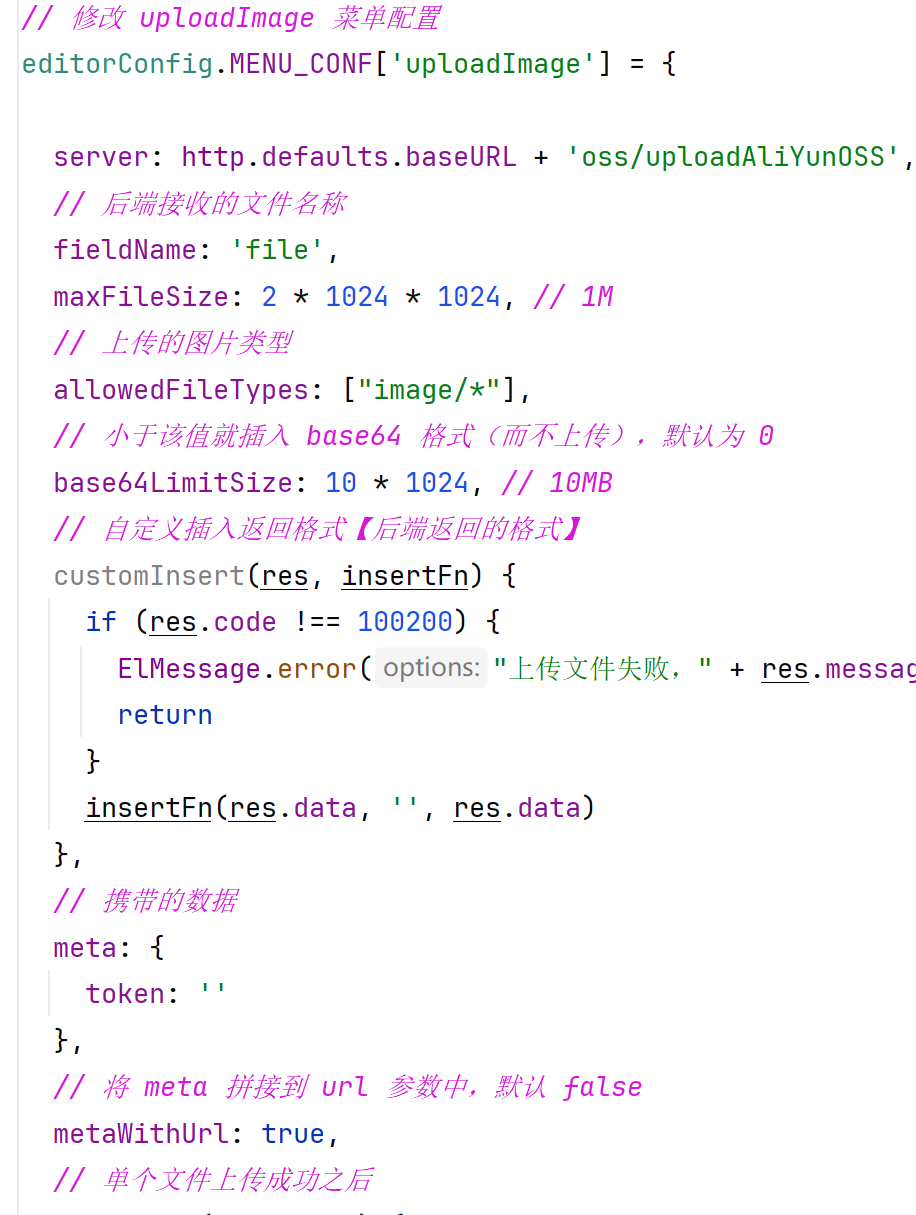
// 修改 uploadImage 菜单配置
editorConfig.MENU_CONF['uploadImage'] = {
server: http.defaults.baseURL + 'oss/uploadAliYunOSS',
// 后端接收的文件名称
fieldName: 'file',
maxFileSize: 2 * 1024 * 1024, // 1M
// 上传的图片类型
allowedFileTypes: ["image/*"],
// 小于该值就插入 base64 格式(而不上传),默认为 0
base64LimitSize: 10 * 1024, // 10MB
// 自定义插入返回格式【后端返回的格式】
customInsert(res, insertFn) {
if (res.code !== 100200) {
ElMessage.error("上传文件失败," + res.message)
return
}
insertFn(res.data, '', res.data)
},
// 携带的数据
meta: {
token: ''
},
// 将 meta 拼接到 url 参数中,默认 false
metaWithUrl: true,
// 单个文件上传成功之后
onSuccess(file, res) {
if (res.code === 100200) {
console.log(res)
ElMessage.success(`${file.name} 上传成功`)
return
} else {
ElMessage.warning(`${file.name} 上传出了点异常`)
return
}
// console.log(`${file.name} 上传成功`, res)
//ElMessage.success(`${file.name} 上传成功`, res)
},
// 单个文件上传失败
onFailed(file, res) {
console.log(res)
ElMessage.error(`${file.name} 上传失败`)
},
// 上传错误,或者触发 timeout 超时
onError(file, err, res) {
console.log(err, res)
ElMessage.error(`${file.name} 上传出错`)
},
}
</script>
<template>
<el-form :model="data.article" label-width="auto" style="max-width: 600px">
<el-form-item label="文章标题">
<el-input v-model="data.article.title"/>
</el-form-item>
<el-form-item label="发表时间">
<el-date-picker
v-model="data.article.createdAt"
type="datetime"
placeholder="请选择发表时间"
format="YYYY-MM-DD HH:mm:ss"
value-format="YYYY-MM-DD HH:mm:ss"
style="width: 250px"
/>
</el-form-item>
</el-form>
<div style="border: 1px solid #ccc">
<Toolbar
style="border-bottom: 1px solid #ccc"
:editor="editorRef"
:defaultConfig="toolbarConfig"
:mode="mode"
/>
<Editor
style="height: 500px; overflow-y: hidden;"
v-model="valueHtml"
:defaultConfig="editorConfig"
:mode="mode"
`@onCreated`="handleCreated"
/>
</div>
<el-button type="primary" `@click`="publish">发表</el-button>
</template>
<style scoped>
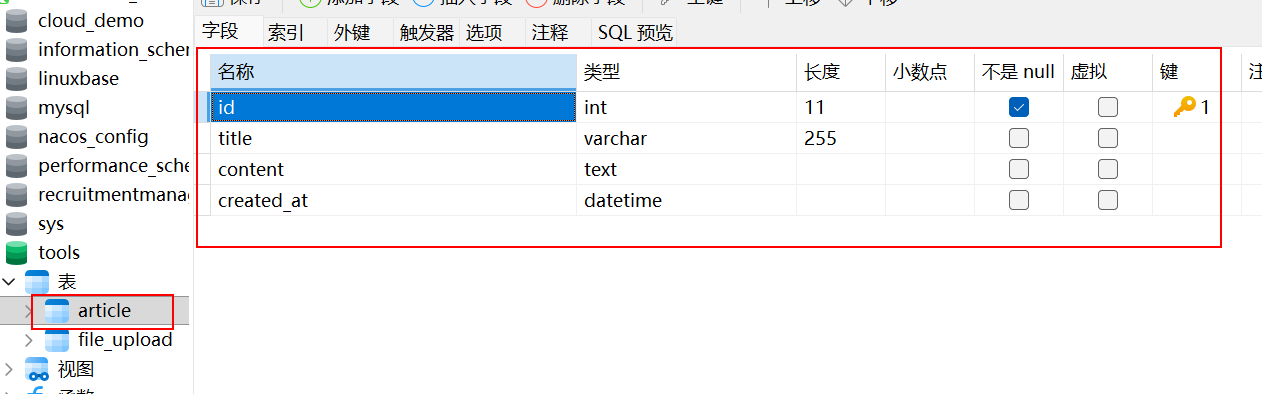
</style>(6)因为需要储存所以我们创建一个数据库表(专门为了储存数据)
(7)使用Mtbatis-puls的数据库导出工具类导出并生成三层架构(具体生成过程不再展示)
plain
package com.xja.application.generation;

import com.baomidou.mybatisplus.annotation.IdType;
import com.baomidou.mybatisplus.generator.AutoGenerator;
import com.baomidou.mybatisplus.generator.config.*;
import com.baomidou.mybatisplus.generator.config.querys.MySqlQuery;
import com.baomidou.mybatisplus.generator.config.rules.DateType;
import com.baomidou.mybatisplus.generator.config.rules.NamingStrategy;

import java.util.Arrays;
import java.util.Collections;
import java.util.List;
import java.util.Scanner;

public class CodeGeneration {
 public static void main(String[] args) {
 /**
 * 先配置数据源
 */
 MySqlQuery mySqlQuery = new MySqlQuery() {
 `@Override`
 public String[] fieldCustom() {
 return new String[]{"Default"};
 }
 };

 DataSourceConfig dsc = new DataSourceConfig.Builder("jdbc:mysql://192.168.25.3:3306/tools?&useUnicode=true&characterEncoding=utf-8&serverTimezone=Asia/Shanghai&useSSL=false","root","MySQL5.7#")
 .dbQuery(mySqlQuery).build();
 //通过datasourceConfig创建AutoGenerator
 AutoGenerator generator = new AutoGenerator(dsc);


 Scanner scanner = new Scanner(System.in);
 System.out.println("代码生成的绝对路径(右键项目->copy path):");
 String projectPath = scanner.next();
 System.out.println("请输入表名,多个英文逗号分隔,所有输入 all");
 String s = scanner.next();

 /**
 * 全局配置
 */
 //String projectPath = System.getProperty("user.dir"); //获取项目路径

 String filePath = projectPath + "/src/main/java"; //java下的文件路径
 GlobalConfig global = new GlobalConfig.Builder()
 .outputDir(filePath)//生成的输出路径
 .author("lizi")//生成的作者名字
 //.enableSwagger() //开启swagger,需要添加swagger依赖并配置
 .dateType(DateType.TIME_PACK)//时间策略
 .commentDate("yyyy年MM月dd日")//格式化时间格式
 .disableOpenDir()//禁止打开输出目录,默认false
 .fileOverride()//覆盖生成文件
 .build();

 /**
 * 包配置
 */
 PackageConfig packages = new PackageConfig.Builder()
 .entity("pojo")//实体类包名
 .parent("com.xja.application")//父包名。如果为空,将下面子包名必须写全部, 否则就只需写子包名
 .controller("web")//控制层包名
 .mapper("mapper")//mapper层包名
 .xml("mapper.xml")//数据访问层xml包名
 .service("service")//service层包名
 .serviceImpl("service.impl")//service实现类包名
 //.other("output")//输出自定义文件时的包名
 .pathInfo(Collections.singletonMap(OutputFile.xml, projectPath + "/src/main/resources/mapper")) //路径配置信息,就是配置各个文件模板的路径信息,这里以mapper.xml为例
 .build();
 /**
 * 模板配置
 */

 // 如果模板引擎是 freemarker
// String templatePath = "/templates/mapper.xml.ftl";
// 如果模板引擎是 velocity
 // String templatePath = "/templates/mapper.xml.vm";


 TemplateConfig template = new TemplateConfig.Builder()
// .disable()//禁用所有模板
 //.disable(TemplateType.ENTITY)禁用指定模板
// .service(filePath + "/service.java")//service模板路径
// .serviceImpl(filePath + "/service/impl/serviceImpl.java")//实现类模板路径
// .mapper(filePath + "/mapper.java")//mapper模板路径
// .mapperXml("/templates/mapper.xml")//xml文件模板路路径
// .controller(filePath + "/controller")//controller层模板路径
 .build();

 /**
 * 注入配置,自定义配置一个Map对象
 */
// Map<String,Object> map = new HashMap<>();
// map.put("name","young");
// map.put("age","22");
// map.put("sex","男");
// map.put("description","深情不及黎治跃");
//
// InjectionConfig injectionConfig = new InjectionConfig.Builder()
// .customMap(map)
// .build();


 /**
 * 策略配置开始
 */
 StrategyConfig strategyConfig = new StrategyConfig.Builder()
 .enableCapitalMode()//开启全局大写命名
 //.likeTable()模糊表匹配
 .addInclude(getTables(s))//添加表匹配,指定要生成的数据表名,不写默认选定数据库所有表
 .addTablePrefix("tb_", "sys_","bus_","rel_","dic_") //设置忽略表前缀
 //.disableSqlFilter()禁用sql过滤:默认(不使用该方法)true
 //.enableSchema()启用schema:默认false

 .entityBuilder() //实体策略配置
 //.disableSerialVersionUID()禁用生成SerialVersionUID:默认true
 .enableChainModel()//开启链式模型
 .enableLombok()//开启lombok
 .enableRemoveIsPrefix()//开启 Boolean 类型字段移除 is 前缀
 .enableTableFieldAnnotation()//开启生成实体时生成字段注解
 //.addTableFills()添加表字段填充
 .naming(NamingStrategy.underline_to_camel)//数据表映射实体命名策略:默认下划线转驼峰underline_to_camel
 .columnNaming(NamingStrategy.underline_to_camel)//表字段映射实体属性命名规则:默认null,不指定按照naming执行
 .idType(IdType.AUTO)//添加全局主键类型
 .formatFileName("%s")//格式化实体名称,%s取消首字母I
 .build()

 .mapperBuilder()//mapper文件策略
 .enableMapperAnnotation()//开启mapper注解
 .enableBaseResultMap()//启用xml文件中的BaseResultMap 生成
 .enableBaseColumnList()//启用xml文件中的BaseColumnList
 //.cache(缓存类.class)设置缓存实现类
 .formatMapperFileName("%sMapper")//格式化Dao类名称
 .formatXmlFileName("%sMapper")//格式化xml文件名称
 .build()

 .serviceBuilder()//service文件策略
 .formatServiceFileName("%sService")//格式化 service 接口文件名称
 .formatServiceImplFileName("%sServiceImpl")//格式化 service 接口文件名称
 .build()

 .controllerBuilder()//控制层策略
 //.enableHyphenStyle()开启驼峰转连字符,默认:false
 .enableRestStyle()//开启生成`@RestController`
 .formatFileName("%sController")//格式化文件名称
 .build();
 /*至此,策略配置才算基本完成!*/

 /**
 * 将所有配置项整合到AutoGenerator中进行执行
 */


 generator.global(global)
 .template(template)
// .injection(injectionConfig)
 .packageInfo(packages)
 .strategy(strategyConfig)
 .execute();
 }

 // 处理 all 情况
 protected static List<String> getTables(String tables) {
 return "all".equals(tables) ? Collections.emptyList() : Arrays.asList(tables.split(","));
 }
}
(8)编写后端ArticleController接待层中代码
plain
package com.xja.application.web;

import com.xja.application.pojo.Article;
import com.xja.application.service.ArticleService;
import com.xja.application.utils.R;
import org.springframework.beans.factory.annotation.Autowired;
import org.springframework.web.bind.annotation.*;

/**
 * <p>
 * 前端控制器
 * </p>
 *
 * `@author` lizi
 * `@since` 2025年09月12日
 */
`@RestController`
`@RequestMapping`("/article")
public class ArticleController {
 `@Autowired`
 private ArticleService articleService;

 `@PostMapping`("publishArticle")//上传
 public R publishArticle(`@RequestBody` Article article) {
 System.out.println("article = " + article);
 return R.Success("上传成功",articleService.save(article));
 }
}
(9)上述代码中已包含调用后端接口
添加本地单个图片上传(上述代码已经编写完整,此处只是指出)
展示上述已经存储到后端的数据
(1)在文件夹showArticle下方创建一个名为ShowArticle.vue的1前端展示页面
plain
<script setup>

import http from "@/utils/http";
import {reactive} from "vue";

 const data = reactive({
 article:{},
 })

 const getArticle = () => {
 http.get('/article/getArticle').then(res => {
 console.log(res)
 data.article = res.data;
 })
 }
getArticle();
</script>

<template>
 <div v-html="data.article.content"></div>
</template>

<style scoped>

</style>
(2)编写后端ArticleController接待层代码写固定的(上述代码已经包含调用后端接口方法)
plain
`@GetMapping`("getArticle")//获取展示
public R getArticle() {
 return R.Success("获取Article成功",articleService.getById(2));
}
(3)启动项目进行测试